Now that you have already created your free tier account, the next thing to do is to make sure you do not unintentionally incur charges as you play around the AWS environment. Most of the services that you can try out are free however may have limitations. Check out this link to see a list of the free services under the free tier account: AWS Free Tier details
The best way to monitor your spending on AWS is to setup Billing Alerts. In this post I will show you how you could set it up initially so that you will receive an email warning whenever your estimated charges go over a specified amount. This will help you manage cost or avoid it totally.
Here are the Steps:
Now you are set to start exploring and trying out services in AWS.
On my next post I will show you how to use IAM to create an Admin account which you can use to launch services in AWS. So stay tuned.
The best way to monitor your spending on AWS is to setup Billing Alerts. In this post I will show you how you could set it up initially so that you will receive an email warning whenever your estimated charges go over a specified amount. This will help you manage cost or avoid it totally.
Here are the Steps:
- Login to your AWS account
- On the upper right corner click the drop down arrow right beside your account name, then click "My Billing Dashboard"

- Scroll down to the Alerts and Notifications section. On the second line where it says "Monitor your estimated charges." click on the highlighted "Enable Now" text.

- Check off "Receive Billing Alerts" and "Receive Free Tier Usage Alerts". If you would like the email alerts to go to another email address other than the one associated with your account then enter it on the email address box. Click "Save preferences".

- Click the highlighted "Manage Billing Alerts" text.

- you will then be redirected to CloudWatch where you can now setup your alarm preferences.
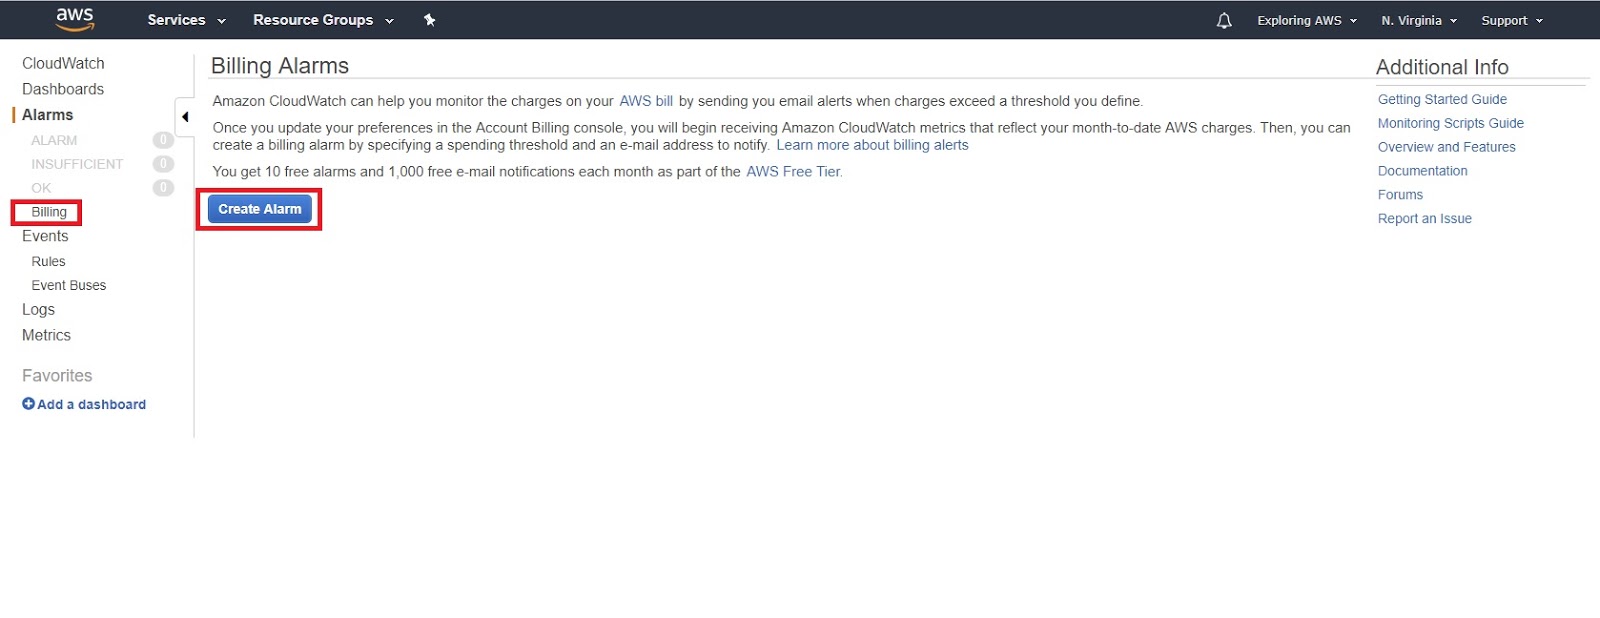
- Click "Billing" then click the "Create Alarm" button.

- A Billing Alarm form will open. Enter the amount of how much cost is allowed before you receive an email alert. Then type the email address that you want the emails to go to. Click the "Create Alarm" button once you are done.

- You will then be sent an confirmation email so check your inbox. Click on the "Confirm Subscription" link on the email.
- Once your email has been confirmed, you will see a green check mark right next to the email address on the Confirm new email popup window.
- You can now click on the "View Alarm" button to view your newly created billing alarm.


Now you are set to start exploring and trying out services in AWS.
On my next post I will show you how to use IAM to create an Admin account which you can use to launch services in AWS. So stay tuned.
Comments
Post a Comment